So, since my daughter bridged to Brownie, she won’t be wearing her daisy vest anymore. All her hard work to earn those awards and they’ll never be shown off again, not to mention that the last awards she earned will never be worn to an event at all. Add to that my discontent with the apparent casting off of all the money we put into that uniform and those awards along with my occasional forays into sentimentality and I’m not okay with this.
Fortunately, I ran across a wonderful idea on pinterest. A scout mom with blog called Sew Mine turned her daughter’s daisy tunic into a cute little tote bag. She doesn’t include a tutorial, which is all well and good because my daughter has the vest anyway, but she did post a picture, and it inspired me.
I’m not going to post a tutorial either, because I doubt you’d really want me to. My sewing style involves a lot “and then remove that stitch and try again.” I do, however, have pictures.

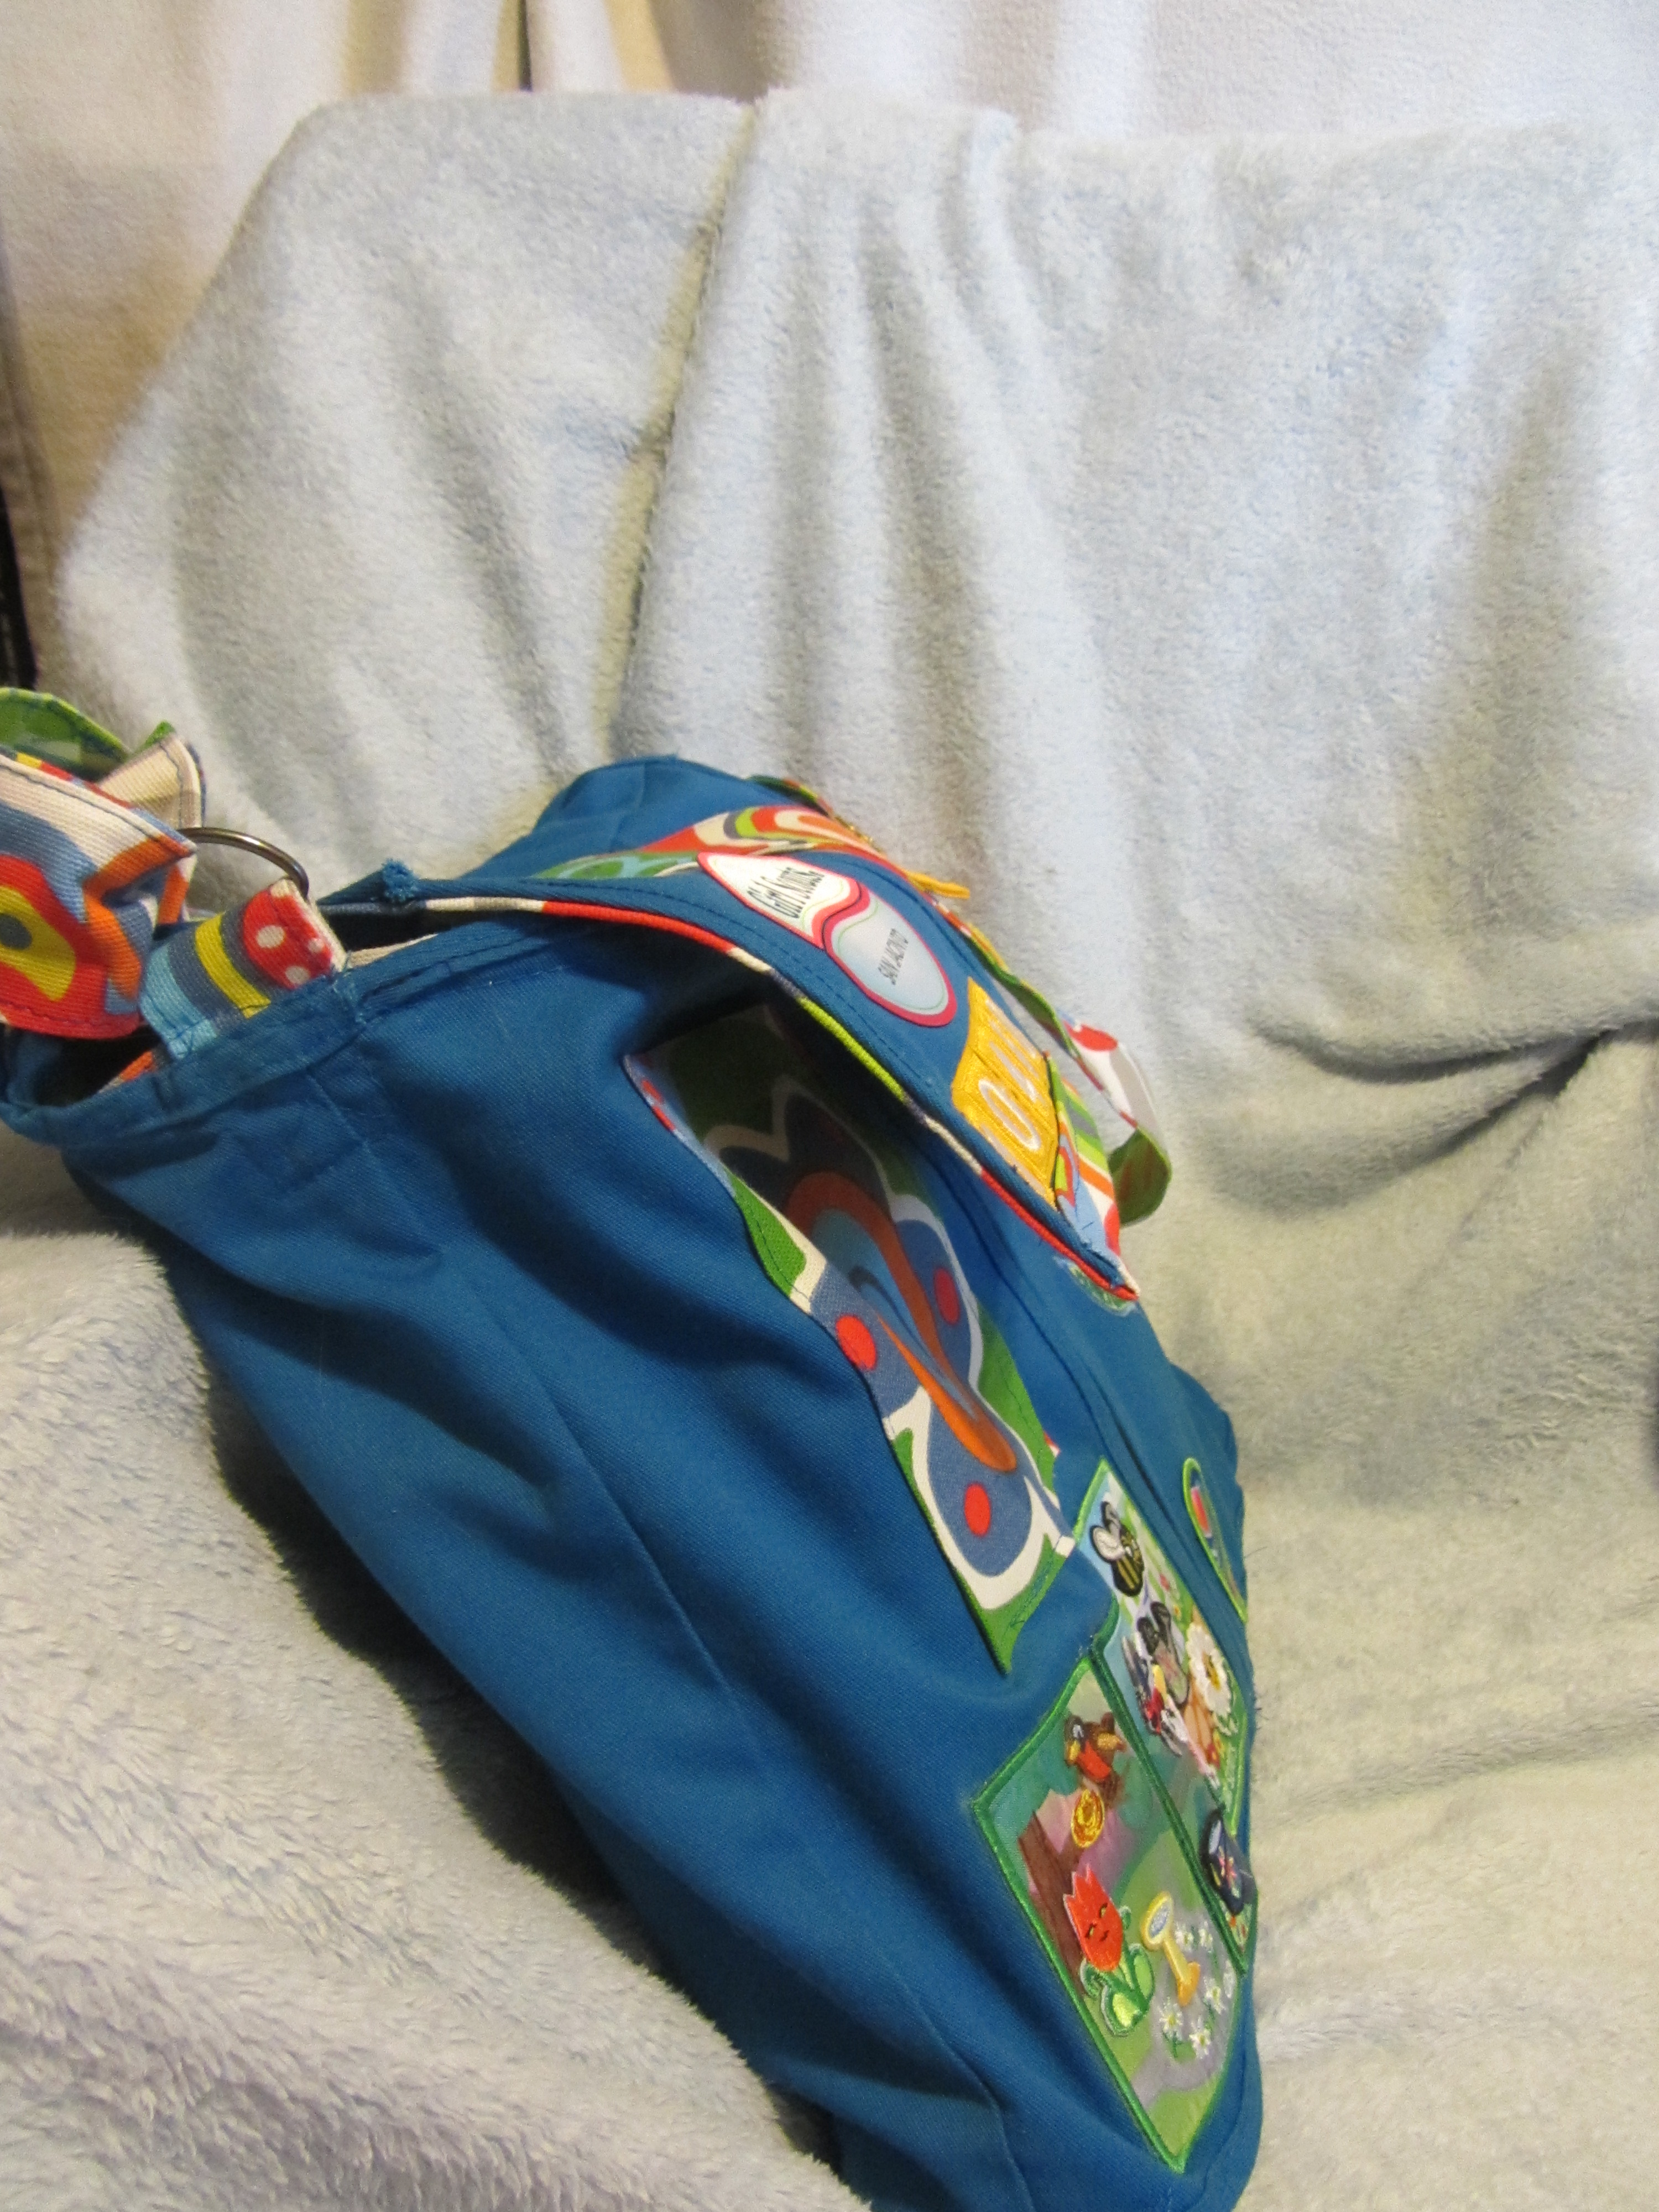
This is the bag I made.

Here’s a view of the lined top flap and the front of the vest bag. For the outside pocket I used a bit along the selvedge of the material so I wouldn’t have to finish the open edge, and it’s top stitched.
It was an afterthought,. I added it once I was done with everything else because there was a huge blue space on an otherwise busy bag, so the stitching is over the lining as well, which I think will probably turn out to be a good thing as there’s no other stitching connecting the outside with the inside down in the bag, just around the top edge.
Also, you can see that I took liberties with the financial literacy leaf placement. Are troop didn’t form in time for cookie sales, so we couldn’t earn those badges and I thought just the two looked better this way.

I had decided what I wanted to eventually with the vest before she ever collected any fun patches, so I began by placing them in the middle of the vest, but even still, I don’t think I would have put them any higher. They would have been hidden under her long hair anyway.
Here’s a shot of the side. You can see I used a D-ring to loop the strap through to make it adjustable. I’m not particularly happy with the D-ring, but my Hobby Lobby was out of the rectangular pieces, and I wanted to get this done before it got shelved with the perpetual “someday” projects.
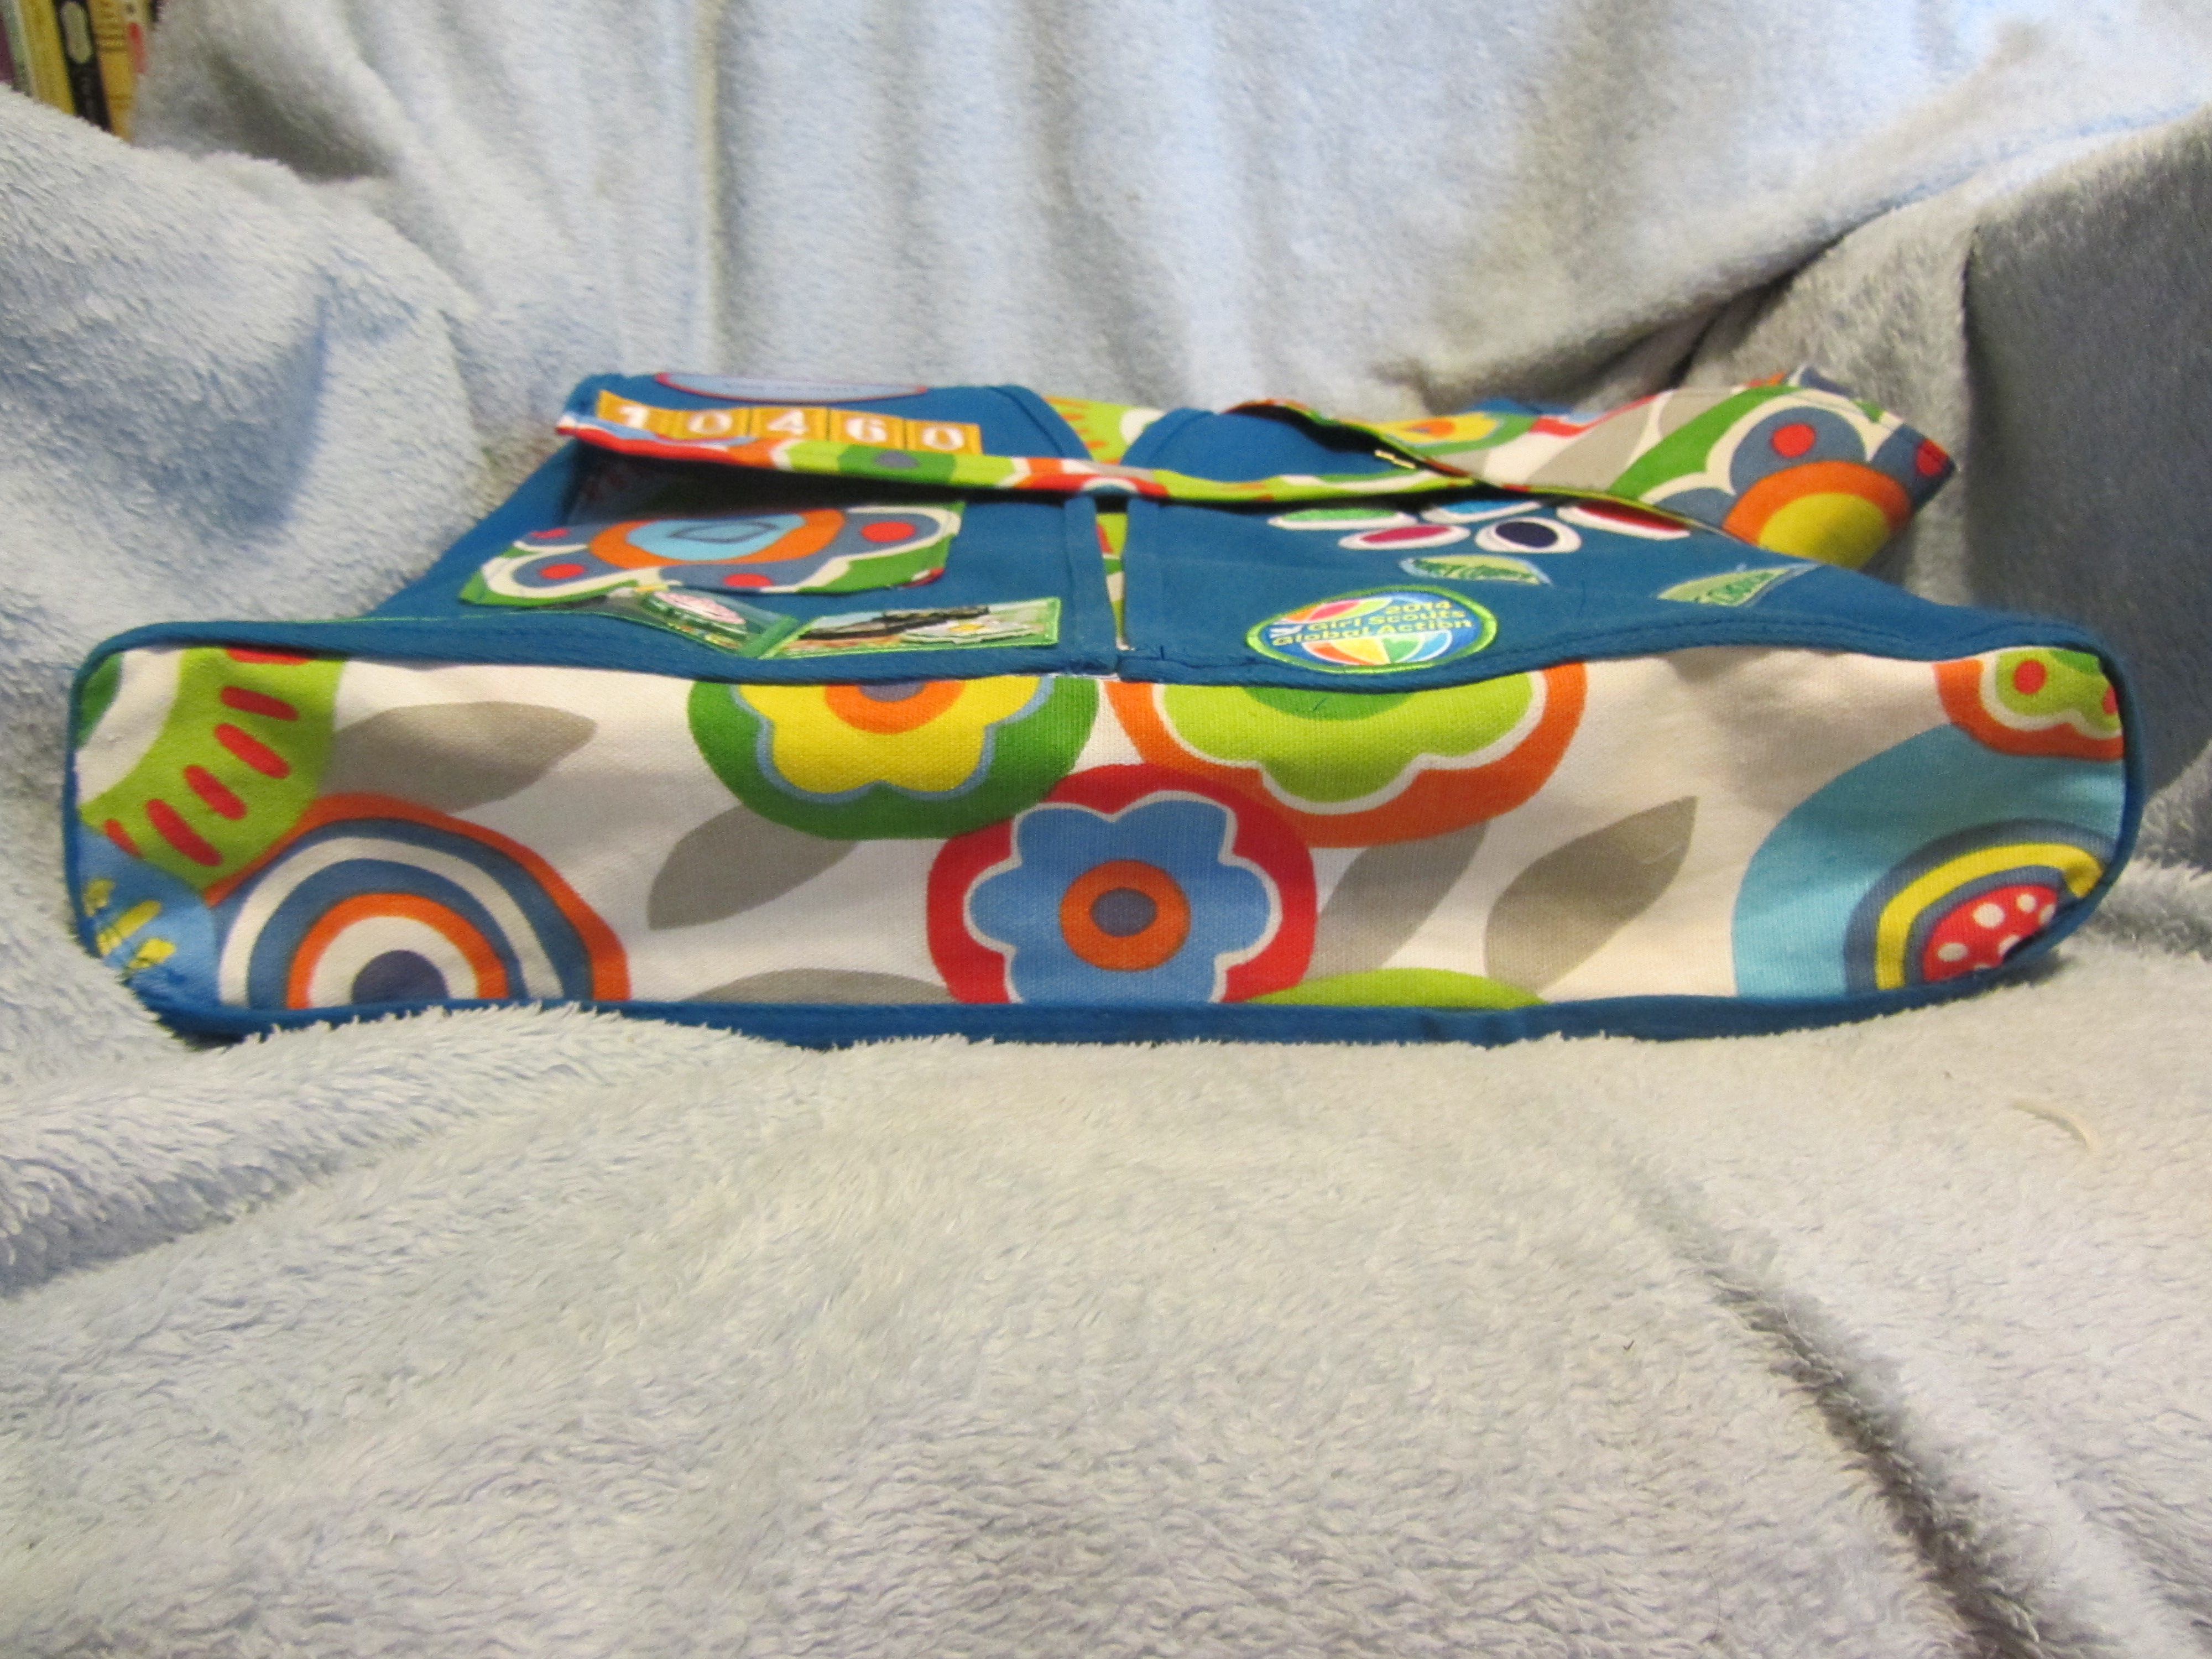
This is the bottom of the bag which I sewed in after measuring for the lining and before sewing the top/flap on. I just a long strip of the lining material, and I cut the corners out so I could fold up the ends and actually get it to fit without completely messing up the corners.
If you look closely, you can see one tiny bit where my seam slipped off the vest. I need to got back and sew that bit down before I give it to her. You can tell I’m a rough edges novice at the whole sewing thing.

The top flap of the bag is the shoulder portion of the uniform. I actually cut the entire top portion of the vest off and sewed a bit of the back back on to give it more of a section off, hinge sort of feel to the top, and I sewed the front shoulder pieces to a bit of the lining material before sewing that whole section onto the top strip. When I lined the flap, I folded the lining over itself and then over the edge of the flap to finish the cut edge of the shoulder pieces and and a bit of accent color.
I also just realized that I forgot to put her summit award on. I need to find that.

Here’s a shot of the inside with the pocket I randomly decided to add. That took some figuring out for me. Basically, I did my best to figure what size I needed the pen sections to be and made the open bit twice as big as they were combined, then I pleated the bottom of all three, folding each side of each pocket in to provide a bit of expansion room, then folded a seam allowance in along the three sides before top stitching it onto the lining. Once it was secured in place, I made sure the pockets were lined up and sewed down the lines between them. I cut a piece along the selvedge of my fabric so I wouldn’t have to finish the top, open edge.

Here’s another shot of the inside with stuff in the pockets. Once I had the shoulders cut off and had the body of the vest settled and all figured out as the body of the bag, I used that to measure fabric for the lining.
I added the top flap to the body and lined it first, only bothering to sew on the three exposed sides before slipping the bag lining in. For both part, I folded over the seam allowance in the lining between the two layers and top stitched the layers together, the inside lining overlapping the flap lining to seal off the fourth edge.

I simply cut a strip of the lining material sewed the vest front to it. It was a little frustrating that the lines of the vest weren’t all straight, but in the end I kind of like that some color peeks through. You can also see along the top that I used the bias tape from around the armholes to make the edges look as uniform and neat as I am personally capable of.

Here you can kind of see the joining of the vest front and the pocket I added to a blank spot on the right side of the vest. The large patch of blue just screamed for a balancing bit of color, and everyone loves an extra pocket. It is also the best picture of the strap. I don’t know how well the rhinestone buckle will hold up, or how well it will grip the strap as she carries it, but I wanted an adjustable strap and my Hobby Lobby was out of sliding buckles. Again, didn’t want to put the project off lest it get shoved in the “someday” pile.

My favorite picture of the bag.
And that, my friends, is the closest I get to a tutorial. Let me know what you think, and send me pictures if you use the idea!

Love this!!
LikeLike
This is so absolutely adorable! You don’t happen to know where I could get this done for my daughter when our time comes (we just started Daisies this year!) I really want to do this when my daughter graduates to Brownie! TIA!
LikeLike
I made this one myself, but if you happen to know anyone who sews, they should be able to figure it out. It’s a pretty simple operation to make a plan for. I’m glad you like it!
LikeLike
I really really love this and will probably do this with my daughter’s vest when my troop bridges up to Brownies.
LikeLike
I LOVE this! I’ve been wondering what to do with my daughter’s vest once she bridges. Thank you for all the pics and the explanation of how you did it!
LikeLike
Great job! Love it! Thanks for sharing the pictures!
What kind of fabric did you use?
Did you use cotton or canvas – or would you recommend one over the other just from what you have experienced? Thanks!
LikeLike
Thanks! I’m glad you liked it. I used a duck cloth, and it was perferct. It’s very similar to the vest material, so it coordinates well, and it it’s tough like canvas, so it should hold upr
LikeLiked by 1 person
my sewing lady is having trouble figuering it out like the top part of the vet does the whole front and back of the top get cut off or just the top of the front?
LikeLike
Ok, so i cut the shoulders off down to just under the troop numbers, front and back. Then i used just the front pieces connected by some duck cloth for the flap. The bottom I left in one piece, one strip when open, and turned it into a loop with sombre duck cloth, and used a strip puff duck cloth to make the flat bottom. I also lined it all with duck cloth, and i used duck cloth for the strap. Does that clear it up?
LikeLike
I love the bag. I am going to try to do the same thing. Thanks for the inspiration. Can you tell me the measurements of the final bag?
LikeLike
i will let my sewing lady know see if she gets it now. so when you cut the top off fron and back do you just throw away the back top part? lol she wanted a video lol i know thanks for getting back to me. my daughter does have alot of badges to in the back
LikeLike
I did because there weren’t a lot of fun patches on the back of ours.
LikeLike
Oh my gosh!! This is adorable!! I love the way the contrasting fabric peeks through the front!! And GREAT choice of fabric print by the way!! I am so glad I saw this !! I believe I will do this with my Granddaughter’s vest when she bridges to Brownies 2018!!
I may get a messenger bag pattern and appliqué the vest pieces into the fabric cut out form the pattern. This method may make it less frustrating for me!!
Awesome job !! Thanks .. saving your pics!!
LikeLike